The key to a lasting and beautiful transformations is proper preparation and finishing.
Whether you’re stripping away old paint, applying a fresh coat, or adding a protective seal, each step plays an essential role in the final look and durability of your piece. In this guide, we’ll walk you through the full process of preparing your furniture, from stripping to priming, painting, and applying the right finish.
Plus, we’ll explore the differences between clear coats, varnishes, and waxes, so you can choose the best option for your project.
Preparing the Furniture: The First Step
Before you start painting or refinishing, it’s essential to properly prepare the piece. Start by thoroughly cleaning the furniture with a mild cleaner or soap and water to remove dirt, grime, and oils. Once it’s clean, inspect the piece for any damages like cracks, dents, or scratches, and use wood filler to repair them.
Tools Needed
Stripping the Old Finish
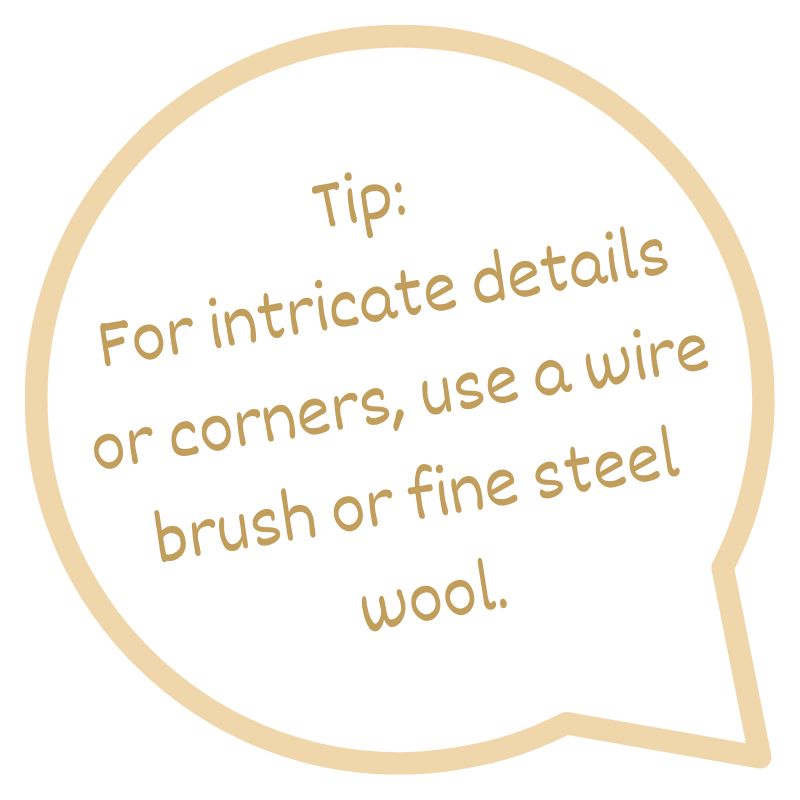
If the furniture has layers of old paint, stain, or varnish, you’ll need to strip it off before starting your project. Apply paint stripper to the surface and use a scraper to gently remove the old finish. You may need to sand the piece afterward to ensure a smooth surface.
Steps

Sanding: Creating a Smooth Surface
Once the old finish is stripped, sand the entire surface to smooth out imperfections and create a base for the primer to adhere to. Start with a coarser grit sandpaper (around 80-120) and work your way up to a finer grit (220 or higher) for a polished finish.
Step-by-Step Guide to Upcycling Furniture
1. Clean and Prepare the Surface
Begin by thoroughly cleaning the furniture piece. Use a mild detergent to remove dirt, dust, and grime, then let it dry completely. For any sticky or greasy areas, a bit of vinegar mixed with water should do the trick.
2. Sand the Furniture
Sanding is crucial for removing old finishes and creating a smooth surface for painting. Start with a coarse grit sandpaper (80–120) to strip off old paint or varnish. Then, work your way up to finer grit (180–220) for a smooth finish. For delicate areas or detailed parts, use a sanding block or hand-sand carefully.
3. Repair Any Damage
If the furniture has chips, cracks, or dents, use wood filler to repair them. Apply the filler with a putty knife, smooth it out, and let it dry completely before sanding it down to blend with the rest of the piece.
4. Prime the Surface
Applying a primer will help your paint adhere better and last longer. Choose a primer suitable for the material (wood, laminate, etc.). Apply an even coat and allow it to dry before moving to the next step.
5. Paint Your Furniture
Now comes the fun part—painting! Whether you’re going for a bold colour or a subtle, neutral finish, apply your paint in thin, even layers. Let each coat dry before applying the next, usually 2–3 coats depending on the paint and surface.
6. Apply a Finish
After the paint has fully dried, apply a protective finish to seal and protect your furniture. There are several options to choose from:
Clear Coat: Ideal for durability and protecting against wear and tear.
Varnish: A traditional wood finish that adds a glossy or satin sheen.
Hard Wax or Soft Wax: Provides a softer, matte finish, often used for a more natural or antique look.
Choosing the Right Finish
Upcycling Ideas: Creative Ways to Transform Your Furniture
Frequently Asked Questions (FAQs)
Q: What type of paint should I use for upcycling furniture?
Chalk paint, milk paint, and latex paint are popular choices. Chalk paint is great for achieving a matte, vintage look, while latex paint offers durability. Milk paint provides a more rustic, natural finish.
Q: Do I always need to sand before painting?
While sanding helps create a smooth surface, you can skip it if you're using chalk paint or a paint and primer combo. However, sanding ensures better adhesion and a longer-lasting finish.
Q: What is the best finish for high-traffic furniture?
A clear coat or varnish offers the most protection for pieces that get a lot of use, such as tables or chairs.
Q: Can I upcycle laminate furniture?
Yes! Just be sure to sand the surface and use a primer specifically for laminate to ensure proper paint adhesion.
Conclusion
Upcycling furniture is a rewarding, sustainable way to transform your home’s look and feel while staying within your budget. With the right tools, materials, and creativity, you can take an old, unloved piece and turn it into a stylish, functional addition to your space. Whether you're a seasoned DIYer or just starting out, the possibilities for upcycling are endless—and the results are always unique and personal.
So go ahead, pick up that old dresser, table, or chair, and start your next upcycling adventure!
